StableDiffusion webUI Explains how to use LoRA model for beginners

What is the Lora Model?
The Lora (Low-Rank-Adaption) model is one of Stable Diffusion’s training methods that allows you to orient AI illustrations to checkpoint models with very little data. This allows the original checkpoint model to be styled without straining storage.
We especially recommend it to anyone who is making AI illustrations and has a checkpoint model full of them.


Download Lora Model
To find a model, go to 🔗Cibitai’s model page to find the model of your choice.
You can easily browse by using filters to narrow down your search to “Lora” models.
How to install the Lora model
As with NegativeEmbedding, all you have to do is put the file in the specified folder.
Here we will use Civatai’s popular “Detail Tweaker” model as an example. Please download the model from the link below.

Move the downloaded file to the \stable-diffusion-webui\models\Lora folder.

If you download various models, you will lose track of what is in the “Lora” folder, so we recommend that you create a child folder such as “Style” to keep the models organized.
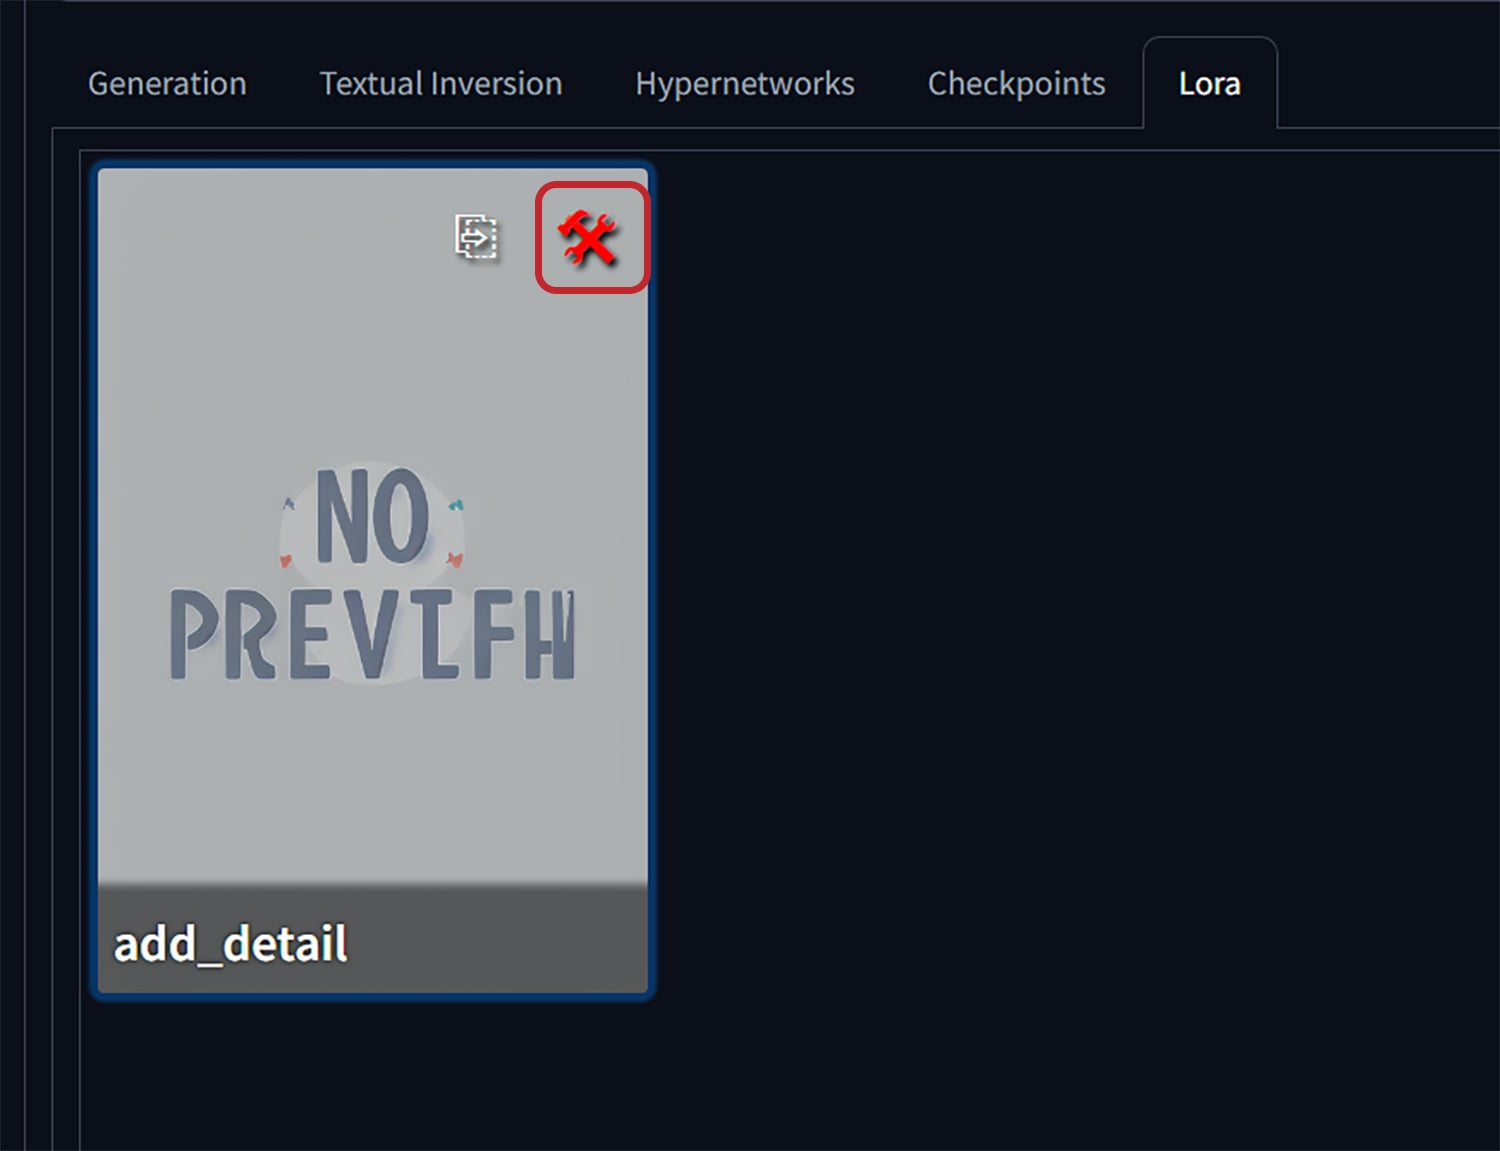
Open the Web UI browser and open “Lora” in the Generation Parameters area.

If the file name add_detail of the “Detail Tweaker” that you just downloaded is not listed, press the refresh button on the right.
If add_detail appears in the list, the installation is complete.

How to use Lora Model UI

\stable-diffusion-webui\model\Lora folder is further subdivided into child folders, activate this button to switch to the tree view.
How to use the Lora model
From the Lora page, click on “Detail Tweaker” to adapt it.
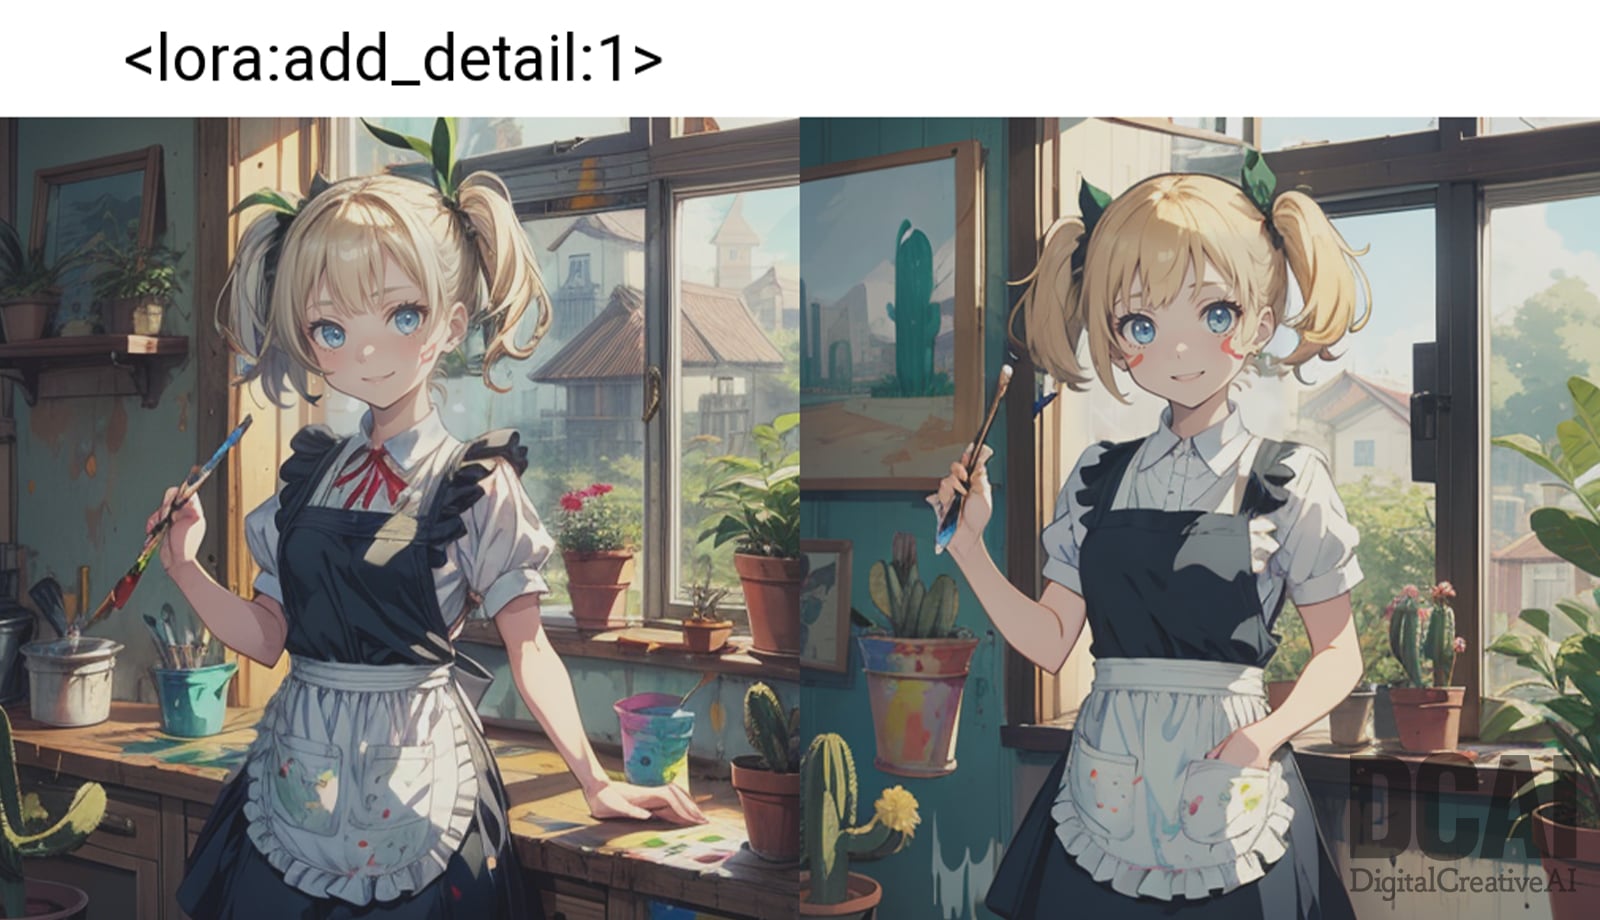
If <lora:add_detail:1> appears in the prompt area, it has been adapted with weight 1.

About Lora Model Weights
The range of adaptation rates (weights) for the Lora model varies from model to model, so read the model descriptions.
For instance, the “Detail Tweaker” introduced here ranges -2 ~ 2. You can adjust the fineness of the AI illustration within the range of these numbers.

How to update the thumbnails in the Lora Model List
Thumbnails can be registered in the same way as on the “Textual Inversion” page.
Generate images with models in portrait (SD1.5 -> 512×768/ SDXL -> 768×1344) with txt2img.

Once the image you want to use as a thumbnail has been generated, open the model edit screen on the “Lora” page.

Press “Replace preview” to replace the image with the one you just generated.
If you want to remove the thumbnails, you can find the model name.png in the \stable-diffusion-webui\models\Lora folder and delete the PNG image to return to the initial state.
Conclusion
In this article, We have explained how to install and use the Lora model. Basically, model installation for Stable Diffusion Web UI is not particularly difficult since all you have to do is put the model into the specified folder. In our next article, We would like to introduce Lora’s recommended SD1.5 model.

